|
Our pond size is 51/2 ft long by 4 ft. wide and 18in deep and 250 gal.
Step 1:
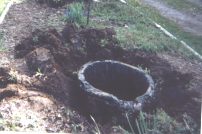
Well the day finally came for us to put in our new pond. The first step was to take out the old pond. It seem
so small but it serve the purpose at the time. The first step for you could be finding the spot for your pond. Make sure it
is in a sunny location and away from trees.
Step 2
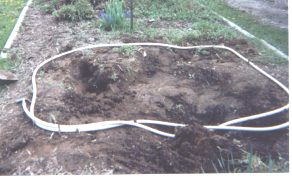
The next thing we did was measured the spot for the pond and laid out a design for the pond. We used our garden
hose for this. We put little stakes around the hose to keep it in place. Once we decided that this was the size we wanted
the digging began.
Step 3
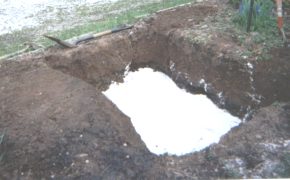
After the hole was dug and level we put in some sand as an under liner. We put in 2 big bags of play sand. You
could use other things too. I have heard some people put in old carpet, newspaper, or you can buy under liner just for this
purpose. The purpose for the sand is to protect your liner from sharp objects such as rocks or roots.
Note: Make sure
your pond is level.
Step 4
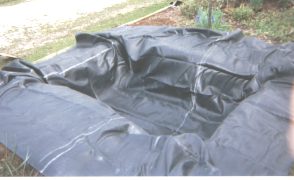
Next came the liner. This was the easy part but you will need some helping hands. After the liner was in place
we tucked under the edges and tried to smooth out the wrinkles.
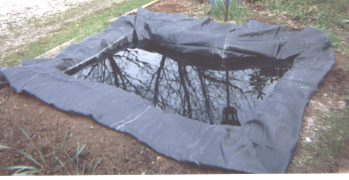
Step 5
Adding the water came next. This was the fun part. The pond was finally taking shape. As you are adding the water
you can smooth out the liner more.

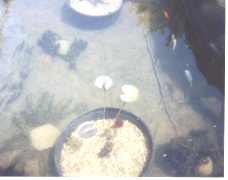
Step 5
This is a side view of the pond as the water was added.
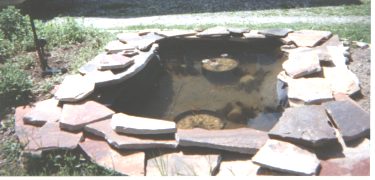
Step 6
After the water was put into the pond we add flagstone all around the pond to hide the liner. You can use any
kind of stone you like. We put in 2 water lilies and some surmerable plants. As you can see I put these plants in the bottom
of the pond and put big rocks on them to hold them in place. You also can plant them in pots if you want.
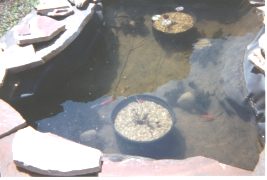
This is a top view of the pond.
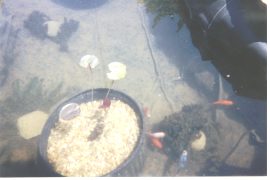
Step 7
This is a picture of my new fish and water lily. I waited for 2 weeks before I added the new fish. I also add
Stress Coat to the water which helps the fish to adjust to their new home.
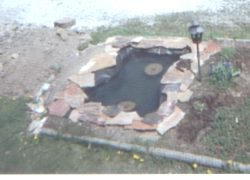
Just another view of the pond. The fish seems to like their new home and Finney seem to like his new family. Finney survive
from the small pond so he really likes all the room he has now.
Another picture of the fish and their new home. I bought 7 new fish for the pond so all together there is 8 fish. 4 goldfish
and 4 shubunkin. I will also add a pump and fountain to the pond.
I hope you enjoyed your visit. We had alot of fun with our pond project. Hope we helped you with your plans for your new pond.
Please stop back again because we will be adding new pictures as the summer progress. THANKS
|